CUSTOMISE Your Tiny Home - Call us now!

How to Buy Mini Homes in 2026?

Buying mini homes in 2026 requires more than admiring beautiful interiors and low advertised prices. It requires careful research, realistic budgeting, and patience. Grand View Research estimated the global tiny homes market at approximately USD 6.46 billion in 2022. Its report projected a 4.8% compound annual growth rate through 2030. However, market definitions vary. Some reports include movable cabins, while others count only permanent residential units.

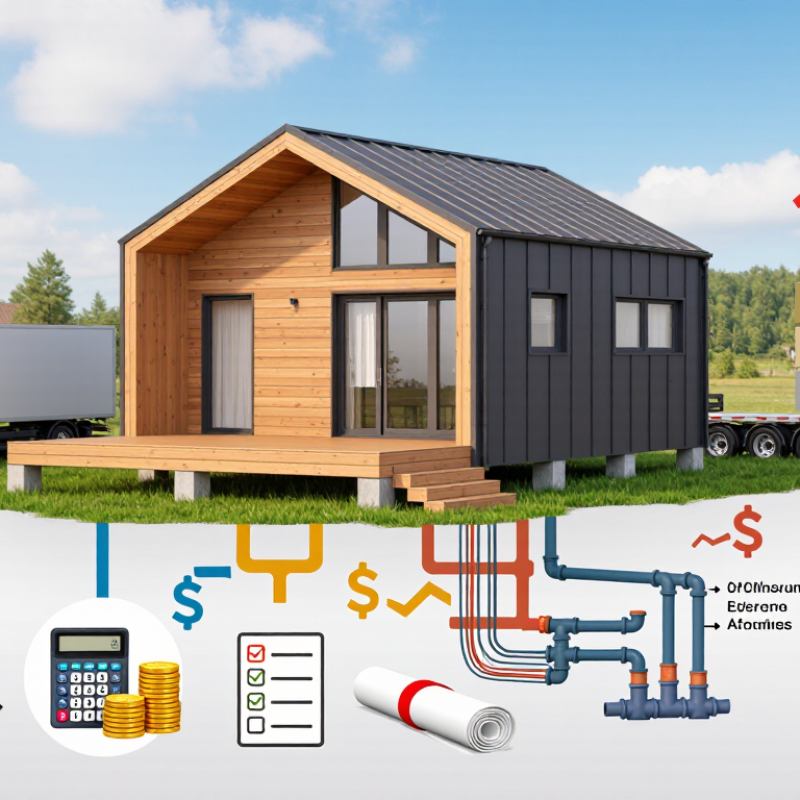
Housing affordability remains a major concern. Freddie Mac estimated a U.S. housing shortage of 3.8 million homes in 2021. That pressure helps explain growing interest in compact housing. Yet a smaller building does not guarantee a smaller total cost. Land, transport, foundations, utility connections, permits, insurance, and local taxes can quickly change the calculation. A USD 90,000 home may need a USD 35,000 site upgrade. The numbers can surprise you.

Andrew Morrison, a well-known tiny-house designer and co-founder of Tiny House Build, has said, “The tiny house movement is not about living in a small house. It is about living a big life.” That idea matters when comparing mini homes in 2026. Buyers should inspect insulation, ventilation, plumbing, electrical systems, and moisture protection. They should also verify zoning rules before signing anything. Online listings often show polished kitchens, not drainage plans or winter heating costs. This guide examines trustworthy buying steps, practical questions, and common mistakes. Some advice may feel less exciting. It may also prevent an expensive decision.

How to Buy Mini Homes in 2026?

Define a Mini Home: The Industry Standard Is Usually Under 400 Sq Ft

How to Buy Mini Homes in 2026?

A mini home usually means a dwelling under 400 square feet. This is an industry benchmark, not a universal legal definition. Some listings include lofts in the stated area, while others exclude them. Ask for the exact floor plan and usable living space. A 380-square-foot home can feel generous with built-in storage, tall windows, and a clear walking path. Poor planning can make the same area feel cramped.

During a viewing, measure the kitchen counter, bathroom clearance, and bed area yourself. Bring a tape measure. Check ceiling height, insulation, ventilation, and window operation. These details affect daily comfort more than attractive photographs. Confirm whether the home sits on a permanent foundation or a movable base. That choice may influence permits, financing, insurance, and utility connections. Rules differ by location, so verify requirements with the local planning office before paying a deposit.

The purchase price is only one part of the budget. Delivery, site preparation, water, electricity, drainage, and heating can add substantial costs. Request written specifications, warranty terms, and an inspection period. A licensed inspector can identify moisture damage, weak connections, or unsafe wiring. I would not rely on “move-in ready” wording alone. It sounds reassuring, but it is not a technical guarantee. A smaller home also needs honest lifestyle planning. Test the storage capacity with your actual belongings, not an idealized list.

Build a 2026 Budget Around Typical Costs of $30,000–$150,000

How to Buy Mini Homes in 2026?

A practical 2026 budget should begin with $30,000–$150,000 for the home itself. HomeAdvisor’s cost guide places many tiny-home projects near the lower end, while custom designs can exceed $150,000. The final figure depends on size, materials, insulation, appliances, and transport distance. A $45,000 shell may look affordable beside a forest road. It may still need wiring, plumbing, stairs, and interior finishes.

Site costs deserve separate attention. The National Association of Home Builders’ 2024 Cost of Construction Survey reported an average construction cost of about $428,000 for a typical new single-family home, or roughly $162 per square foot. Mini homes use less space, but they still require foundations, utility connections, drainage, and approvals. Permit fees vary widely. Land may cost more than the structure. Expect surprises.

Build a worksheet with three layers: purchase price, site preparation, and a 15% emergency reserve. For example, a $75,000 home could require $12,000 for delivery, foundation work, and utility connections. Add $11,250 for unexpected costs. That creates a working budget of $98,250, before land. A careful buyer should verify dimensions, moisture protection, energy performance, and warranty terms in writing. My first budget would still be imperfect. That is useful. It reveals which comforts can wait, such as built-in storage or premium flooring, and which systems cannot.

How to Buy Mini Homes in 2026: Build a Budget Around Typical Costs of $30,000–$150,000

These planning scenarios show how a mini-home budget may be distributed across the home structure, site preparation, utilities, interior finishes, permits, and contingency. Land purchase, financing costs, delivery distance, and local taxes are excluded and can substantially increase the final budget.

Check Zoning, Building Codes, and HUD Rules Before Choosing Land

How to Buy Mini Homes in 2026?

Check Zoning, Building Codes, and HUD Rules Before Choosing Land

Buying a mini home in 2026 starts with land research, not floor plans. A compact house can look movable, yet local rules may classify it as a dwelling, manufactured home, recreational vehicle, or accessory structure. That label affects placement, utility connections, and full-time occupancy. Ask the planning office for written zoning confirmation. Do not rely on a seller’s promise. Check lot size, setbacks, height limits, parking, and tiny-home restrictions.

Building codes matter just as much. Request the current residential code, permit checklist, and inspection schedule before paying a deposit. Confirm whether the home needs an engineered foundation, wind-load calculations, emergency exits, or approved electrical systems. Rural land may also require soil testing, septic approval, a well permit, driveway access, or stormwater controls. These costs can exceed expectations. Attractive land is not always buildable land.

HUD rules deserve careful attention when the unit is manufactured housing. Look for the correct federal certification label and verify applicable HUD standards. A site-built tiny home may follow state or local codes instead. A recreational vehicle follows different rules and may face stay limits. Ask the building official how your exact model will be classified. Get answers in writing. It is easy to assume approval means permanent residence, but that assumption can be costly. Recheck every detail before closing.

Compare Financing: Personal Loans, RV Loans, and Mortgage Eligibility

How to Buy Mini Homes in 2026?

Financing a mini home starts with its legal classification, not its floor plan. Is it movable, towable, or permanently installed? That answer can change your loan options.

A personal loan may suit a small, movable unit without land collateral. Approval can be faster, but interest rates may be higher and repayment periods shorter. Check the total cost, not only the monthly payment.

An RV loan may work for a certified towable home designed for road use. Lenders often inspect its age, weight, title, and resale value. You may need proof of insurance and a suitable towing vehicle.

Ask about restrictions on full-time living. Details matter here. I have seen buyers focus on the cabin price, then underestimate delivery, site preparation, and utility connections.

Mortgage eligibility is more demanding. The home may need a permanent foundation, approved construction, clear land ownership, and acceptable appraisal evidence.

Your income, credit history, debt-to-income ratio, and down payment will also be reviewed. A lender may reject a property that looks perfect but lacks comparable sales. That can feel unfair.

It is also why early document checks are valuable. Prepare income records, land documents, building specifications, estimated setup costs, and a realistic reserve for repairs. Rules vary by location and lender, so confirm every condition in writing before paying a deposit.

Inspect, Transport, Install, and Verify Utilities Before Closing the Purchase

How to Buy Mini Homes in 2026?

Inspect, Transport, Install, and Verify Utilities Before Closing the Purchase

Buying a mini home requires more than admiring its compact design. Walk through every room during daylight. Check doors, windows, floor levels, roof edges, and visible plumbing. Use a moisture meter near bathrooms and exterior walls. Ask for repair records, structural drawings, and appliance specifications. A pleasant interior can hide expensive damage.

Transport planning deserves equal attention. Measure the home, access road, gates, bridges, and turning areas. Confirm transport permits, route restrictions, lifting equipment, and weather limits with qualified contractors. The delivery site should have a prepared foundation, stable ground, and enough clearance for installation. I have seen buyers focus on the purchase price, then underestimate crane access. That mistake is costly.

Before closing, test every utility under realistic conditions. Run taps together and observe water pressure. Flush toilets and inspect drains for slow flow or leaks. Test each electrical outlet with a verified tester, then check the distribution panel. Confirm heating, ventilation, and hot water operation. If fuel systems exist, request inspection records from licensed professionals. Ask the utility provider to confirm connection requirements and activation dates. Keep written results, photographs, warranties, and promised repairs in the contract. Do not rely on verbal assurances. I would also leave a contingency for overlooked installation work. My own checklist once missed exterior drainage, a small detail that caused standing water after rain. Never close until the home is safely installed and essential services function as agreed.

How to Buy Mini Homes in 2026? - Inspect, Transport, Install, and Verify Utilities Before Closing the Purchase

Purchase Stage Data Dimension What to Check Typical Reference or Measurement Evidence to Request Recommended Timing Closing Decision
1. Confirm Legal Use Land-use eligibility Verify that the parcel permits the intended dwelling type, occupancy, foundation, and connection to utilities. Requirements vary by municipality, zoning district, and whether the unit is classified as a site-built dwelling, manufactured home, modular home, or recreational vehicle. Written zoning response, permit checklist, applicable code references, and confirmation of minimum dwelling size. Before paying a non-refundable deposit Required
2. Review Documents Ownership and compliance records Match the serial number, model information, construction date, floor plan, and seller identity across all documents. Documents should be consistent; unexplained differences in dimensions, model year, or ownership history are material warning signs. Purchase contract, title or ownership record, invoices, permits, inspection history, warranties, and manuals. Before the inspection Required
3. Inspect Structure Foundation and frame Look for settlement, movement, corrosion, cracked welds, water intrusion, damaged supports, and evidence of unapproved alterations. Floors should feel level and stable; doors and windows should operate without binding; no active leaks or structural deflection should be present. Independent inspection report with photographs and moisture readings. Before signing final acceptance Required
4. Inspect Exterior Roof, siding, windows, and weather protection Check roof covering, flashing, sealants, exterior penetrations, window seals, doors, skirting, and drainage away from the home. There should be no active water entry, soft exterior sheathing, failed sealant joints, or standing water near the base. Roof age, repair history, photographs, and a written list of defects with repair estimates. During the independent inspection Repair or renegotiate
5. Inspect Interior Moisture, ventilation, and finish quality Inspect ceilings, wall corners, under sinks, around showers, behind appliances, and inside cabinets for staining, mold-like growth, or dampness. Moisture readings should be compared with dry areas of the same material; unexplained elevated readings require further investigation. Inspection photos, moisture readings, ventilation details, and repair invoices. Before the due-diligence deadline Investigate before closing
6. Test Electrical System Service capacity and safety Check the main disconnect, panel condition, grounding, receptacle operation, GFCI protection in wet areas, and visible wiring damage. Residential systems commonly use 120/240-volt service, but the required amperage depends on the load calculation and local code. Electrical inspection report, service rating, load calculation, permits, and correction records. Before utility connection and closing Pass inspection
7. Test Plumbing Water supply, drainage, and leaks Run every faucet, operate toilets, test showers, inspect shutoff valves, and check visible supply and drain connections. Water pressure and flow must meet local requirements and remain stable while multiple fixtures operate; no visible leakage is acceptable. Plumbing inspection, pressure-test result where applicable, water-heater information, and repair records. Before final acceptance Pass inspection
8. Verify Heating and Cooling Equipment condition and capacity Operate heating and cooling equipment through a complete cycle and inspect flues, combustion air, filters, condensate drainage, and controls. Equipment should start, operate safely, and shut down normally; fuel-burning appliances require appropriate venting and carbon-monoxide protection. Service history, equipment age, model information, installation permit, and technician report. During the inspection period Service if needed
9. Measure Transport Dimensions Width, height, length, and weight Measure the loaded unit, including tires, chassis, roof projections, skirting, racks, and other removable or fixed components. Many jurisdictions treat approximately 8.5 feet as a common standard highway width, but permit limits, height limits, escort rules, and route restrictions vary. Certified or manufacturer-supplied dimensions, gross vehicle weight, axle weights, and transport permit requirements. Before selecting a transporter Route approval required
10. Survey the Transport Route Access and clearance Check bridge limits, road width, turning radius, steep grades, low wires, tree branches, gates, culverts, and final-site access. Clearance must exceed the loaded height and width with a safe margin; the transporter should confirm route feasibility in writing. Route survey, permit documents, site photos, overhead utility review, and a written transport quote. Before the transport date is booked Required
11. Prepare the Site Ground, foundation, drainage, and access Confirm soil conditions, bearing surfaces, drainage, foundation design, crane or trailer access, and required setbacks. Foundation design and soil requirements are site-specific; the installation must follow approved plans and local inspection requirements. Site plan, survey, foundation drawings, soil information where required, permits, and contractor insurance. Before delivery Required
12. Plan Utility Connections Electricity, water, wastewater, gas, and communications Confirm connection points, trench routes, meter locations, shutoff valves, backflow protection, septic or sewer requirements, and inspection sequence. Utility voltage, service amperage, pipe sizes, burial depth, septic setbacks, and connection fees vary by jurisdiction and site conditions. Utility availability letters, approved plans, connection estimates, permits, and written requirements from each utility authority. Before finalizing the purchase price Written confirmation required
13. Control Delivery Risk Transport and installation contract Define who is responsible for permits, escorts, route damage, crane or setting equipment, weather delays, utility disconnection, and insurance. The contract should state the delivery address, scope of work, exclusions, payment schedule, cancellation terms, and responsibility for damage. Signed transport agreement, certificate of insurance, delivery schedule, damage-report procedure, and payment receipts. Before the unit leaves its current location Contract required
14. Inspect Upon Arrival Delivery condition Photograph all sides before unloading, then check doors, windows, flooring, cabinets, appliances, plumbing, siding, roof edges, and chassis. Compare the delivered condition with the pre-transport inspection and signed inventory; record every new defect before accepting delivery. Time-stamped photographs, delivery checklist, signed damage report, and transporter acknowledgment. Immediately upon arrival Do not waive damage claims
15. Complete Installation Leveling, anchoring, and weather sealing Verify final position, level, supports, anchors, tie-downs, steps, skirting, drainage, and sealing around utility penetrations. Installation must comply with approved foundation and anchoring plans, local wind and seismic requirements, and applicable building standards. Installer completion certificate, inspection approvals, anchor documentation, and photographs of concealed work. Before utility activation Required
16. Verify Utilities Functional commissioning Test electricity, water, drainage, hot water, heating, cooling, ventilation, gas detection, smoke detection, and internet conduit if included. All systems should operate without leaks, abnormal odors, repeated breaker trips, unsafe temperatures, drainage backup, or unresolved inspection violations. Final utility approvals, meter activation records, pressure or electrical test results, and a signed commissioning checklist. Before releasing the final payment Pass and document
17. Complete Final Walk-Through Contract scope and punch list Compare the finished home with the contract, specifications, inclusions, floor plan, appliance list, and agreed repair commitments. No material defect, missing item, unsafe condition, or unresolved permit issue should remain without a written remedy and deadline. Final punch list, completion photographs, lien waivers where applicable, warranties, keys, manuals, and permit closeout documents. One to three days before closing Required
18. Close the Purchase Payment and risk transfer Release funds only after title, permits, inspections, installation, utilities, insurance, and agreed repairs are verified. Final documents should identify the property, total price, included equipment, outstanding obligations, possession date, and responsibility for future repairs. Signed closing statement, ownership transfer, insurance confirmation, final inspection approvals, receipts, and warranty documents. At closing Close only when complete

Note: Dimensions, permits, utility standards, foundation requirements, transport limits, and inspection procedures vary by location and home classification. Confirm all requirements with the local building department, zoning authority, utility providers, and a qualified independent inspector before closing.