How to Choose the Right Auto Labeling Machine
Choosing an Auto Labeling Machine is not just a matter of matching a speed figure to a production target. The right system must handle your container shapes, label materials, adhesive, and daily changeovers. A glass jar can rotate smoothly on a conveyor; a soft pouch may wrinkle under the same pressure. Small details matter. How quickly can operators adjust guides? Can the machine place labels consistently when bottles arrive slightly damp? These are practical questions, not brochure promises.
Quality pioneer W. Edwards Deming offered a useful reminder: “In God we trust; all others must bring data.” For equipment selection, that means testing your actual products, not relying on a supplier’s best-case demonstration. Bring several containers, including the awkward ones. Check label placement, reject rates, and changeover time. Watch the machine run. Listen, too. A loose guide or frequent stop may reveal more than a polished specification sheet. No test catches everything. Some lines behave differently after a full shift, and that deserves honest consideration. This guide explores the key factors behind choosing an Auto Labeling Machine, from application type and line speed to controls, integration, and service support. The goal is a dependable fit for your real production floor—not simply the fastest machine on paper.
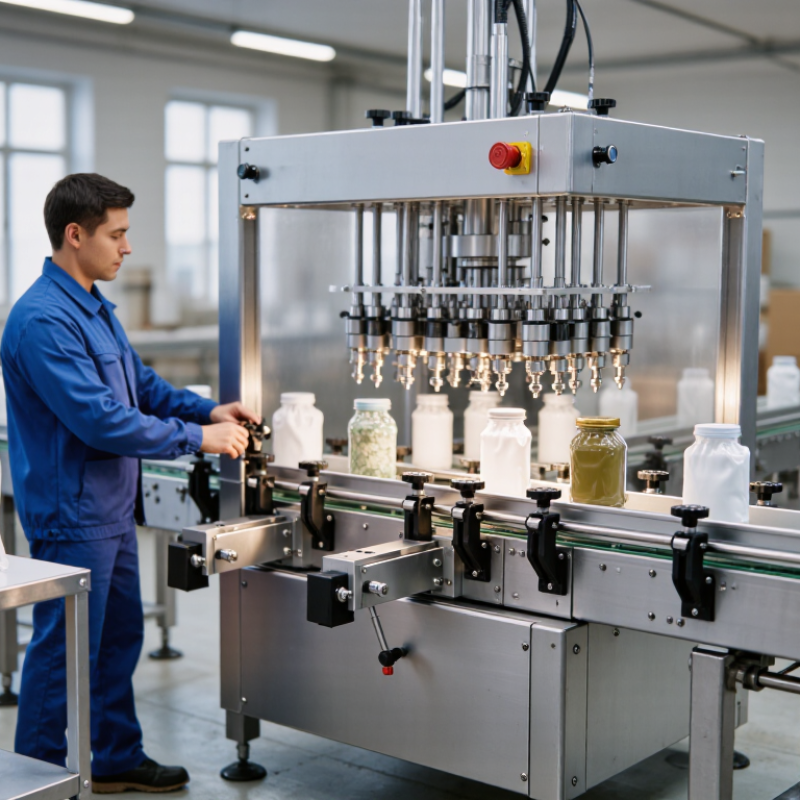
Define Container Geometry, Label Stock, and Required Placement Tolerance
Start with the container, not the machine’s advertised speed. A straight-sided glass jar behaves differently from a tapered bottle, an oval tub, or a flexible pouch. Measure the body diameter or width at several points, and note shoulders, seams, ribs, and changes in panel depth. Small variations matter. On curved or tapered surfaces, labels may wrinkle, bridge an edge, or drift as containers rotate. Check samples from several production lots; one perfect container can hide real variation.
Next, match the label stock to the surface and application conditions. Paper and film bend differently, while liner stiffness can affect dispensing and transfer. Check adhesive performance on the actual container, especially if its surface is textured, cold, or slightly damp. Then specify placement tolerance in measurable terms, such as a maximum 1.5 mm offset from a defined edge. Name the reference point and confirm whether the tolerance applies vertically, around the container, or both. Run samples at the intended line speed and inspect them from multiple angles. The awkward part is that a setup may look precise on a bench but shift during a full run. Recheck after adjustments.
Calculate Required Line Rate and Adjust for OEE: Availability × Performance × Quality
How to Choose the Right Auto Labeling Machine
Calculate the line rate from good units required, not the machine’s advertised maximum. If a line must ship 12,000 labeled bottles during an eight-hour shift, it needs 1,500 good bottles per hour. At an expected OEE of 65%, the labeler must support roughly 2,308 bottles per hour: 1,500 ÷ 0.65. OEE combines availability, performance, and quality, so short stops, slowdowns, and rejects all affect the required rated speed. Small losses compound. Vorne’s OEE benchmark guidance cites 85% as a world-class reference, not a guaranteed target; actual results depend on product, changeovers, and operating conditions.
Tips: Use measured shift data to estimate each OEE factor. For example, record time lost to roll changes, bottle gaps, and label misalignment. Then size the machine using a realistic OEE figure, with some headroom for demand peaks. Be cautious: a single clean trial may overstate everyday performance. Verify the rate with your own containers, labels, and operators before choosing equipment.
Compare Pressure-Sensitive, Wraparound, and Sleeve Labeling Systems
How to Choose the Right Auto Labeling Machine
Pressure-sensitive systems apply labels with adhesive backing and suit many flat, gently curved, or tapered surfaces. They work well when labels need clear placement on bottles, jars, or cartons. Check the container’s surface and label material together; condensation, dust, or a textured finish can affect adhesion. Setup is often straightforward, but precise positioning still takes testing.
Wraparound systems apply a label around cylindrical containers, such as cans or round bottles. They can support fast production, provided containers feed consistently and stay aligned. Sleeve systems use heat to shrink a film label around a container, making them useful for shaped packages or full-body graphics. They may require a heat tunnel and careful control of film, temperature, and container stability. The right choice depends on package shape, desired coverage, line speed, and changeover needs. A machine that looks ideal on paper may behave differently with real containers.
Tips: Test actual containers and labels at operating speed. Watch for skew, wrinkles, gaps, and scuffing. Ask operators to review changeovers, too. Their feedback often catches small issues early. Don’t skip that trial.
How to Choose the Right Auto Labeling Machine - Compare Pressure-Sensitive, Wraparound, and Sleeve Labeling Systems
| Comparison Dimension | Pressure-Sensitive Labeling | Wraparound Labeling | Sleeve Labeling |
|---|---|---|---|
| How It Applies the Label | Applies a pre-printed, self-adhesive label from a roll using a peel plate and applicator. | Feeds a pressure-sensitive label around a container; a wipe-down or rolling mechanism presses it onto the surface. | Places a cut section of heat-shrink film over the container, then uses heat to shrink it to the package shape. |
| Best-Suited Containers | Flat, oval, and round containers, depending on the machine and application setup. | Primarily round containers such as bottles, jars, and cans. | Containers with varied shapes, including contoured bottles, jars, and multipacks. |
| Label Coverage | Usually applies one or more distinct labels to selected areas of the package. | Can cover much or all of a round container’s circumference, depending on label length. | Can provide near-full-body coverage; a shorter sleeve can be used as a tamper-evident band. |
| Typical Label Material | Paper or pressure-sensitive film with an adhesive backing and release liner. | Pressure-sensitive paper or film with an adhesive backing and release liner. | Heat-shrink film, commonly supplied as printed film that is formed and cut into sleeves. |
| Container Shape Flexibility | Good for many shapes, but curved, tapered, or uneven surfaces may require specialized applicators and label design. | Most effective on round containers; maintaining a smooth application depends on container stability and label fit. | Highly adaptable to complex contours, though the film and shrink process must suit the container material and shape. |
| Changeover Considerations | Typically involves changing the label roll, guides, and application settings for a new label or container. | May require adjustment of container guides, label position, and wrap settings when package dimensions change. | May require changes to film, sleeve dimensions, cutting setup, and shrink-tunnel settings for a different package. |
| Equipment and Process Needs | Requires a label applicator and compatible label stock; many configurations can be integrated into a packaging line. | Requires a label applicator configured to wrap labels around containers; suitable conveying and spacing are important. | Requires a sleeve applicator and a controlled heat-shrink process, often using a steam or hot-air tunnel. |
| Key Advantages | Versatile label placement, crisp printed graphics, and a comparatively direct labeling process. | Efficient coverage around cylindrical packages with a continuous label appearance. | Extensive graphic coverage, conformity to contoured shapes, and the option of tamper-evident bands. |
| Key Limitations | Uses release liner that must be managed; label adhesion and appearance depend on surface condition and application accuracy. | Less suitable for non-round packages; label alignment and smooth wrapping can be affected by container handling. | Requires heat and additional process control; shrink behavior, film choice, and container heat tolerance must be evaluated. |
| Best Fit When | You need targeted labels, multiple label positions, or a flexible solution for a range of container styles. | You primarily label round containers and want a label to wrap around their circumference. | You need full-body graphics, a label that follows a complex package shape, or a shrink-sleeve tamper-evident feature. |
Selection note: Actual line speed, application accuracy, and changeover time depend on the container, label or film, machine configuration, and operating conditions. Test representative packages before selecting equipment.
Set Barcode Verification Targets Using ISO/IEC 15416 Grades 0–4
How to Choose the Right Auto Labeling Machine
Set Barcode Verification Targets Using ISO/IEC 15416 Grades 0–4
ISO/IEC 15416 grades the print quality of linear barcodes on a scale from 0 to 4. A grade of 4 is the highest; 0 indicates a failed result. A verifier measures features such as bar contrast and edge quality, then reports a grade under defined test conditions. A handheld scanner’s successful read is not a substitute for verification.
Choose a minimum grade that fits the barcode’s actual use. Consider the scanner, reading distance, label size, and whether labels will face glare or abrasion. A code scanned close up on a clean carton may tolerate a different target than one read quickly from a moving case. Confirm the required threshold with the people receiving and scanning the goods. Higher is not automatically necessary.
The labeling machine matters, but it cannot fix every print defect. Check printer settings, label stock, ribbon compatibility, and application speed. Then verify samples from the production line, not just a carefully prepared test label. Small shifts can change results. Keep records of the verifier settings and grades, and repeat checks after material or speed changes. One practical caveat: a good grade on one sample does not prove every label will pass.
Evaluate Changeover Time, Integration, and Operator Safety Requirements
How to Choose the Right Auto Labeling Machine
Evaluate changeover time, integration, and operator safety before comparing machine speed. Ask for a timed demonstration using your actual containers, labels, and recipes. Record the minutes needed to switch formats, adjust guides, and verify label placement. A quick swap on paper may stall when a sensor needs recalibration. Small details matter.
Integration deserves equal scrutiny. Deloitte’s 2023 Smart Manufacturing Survey found that 86% of manufacturing executives viewed smart factory solutions as important drivers of competitiveness over the next five years. Check that the labeler can exchange data with your line controls and production records. Confirm how faults appear on the operator screen. A polished interface is not useful if crews cannot find the right alarm.
Tips: Request a changeover trial with the least experienced trained operator, not only the specialist. Check access to emergency stops, guarded moving parts, and safe cleaning points. The U.S. Bureau of Labor Statistics reported 2.8 recordable injury cases per 100 full-time workers in manufacturing in 2023. That figure cannot predict risk at one machine, but it supports careful review. One question is easy to overlook: will the setup still feel safe during a rushed shift?
How to Choose the Right Auto Labeling Machine
Compare format-changeover time, then verify integration and operator-safety requirements before selecting a machine.
Illustrative planning estimates: A changeover may take about 35 minutes with manual mechanical adjustments, 20 minutes with tool-less format parts, or 10 minutes with recipe control and preset parts. Actual times depend on the machine, label and container formats, and validation steps. During evaluation, time a representative changeover and confirm PLC/I/O compatibility, line-speed coordination, and required guarding, interlocks, and emergency stops.
